Wednesday 13 January 2016

Warlord Games M8/M20Greyhound review

More lovely plastic armour courtesy of the Warlord Italeri collaboration, this time in the seductive shape of the Greyhound Armoured car. 


The models I have are from the 3 vehicle box set produced by Warlord, and I have tried to show off a few different features with the kit in building them by removing one of the Greyhounds sand skirts, easily achieved with a sharp blade and scoring along the edge of the panels. I also decided on building another so that I can switch versions. More on that later.

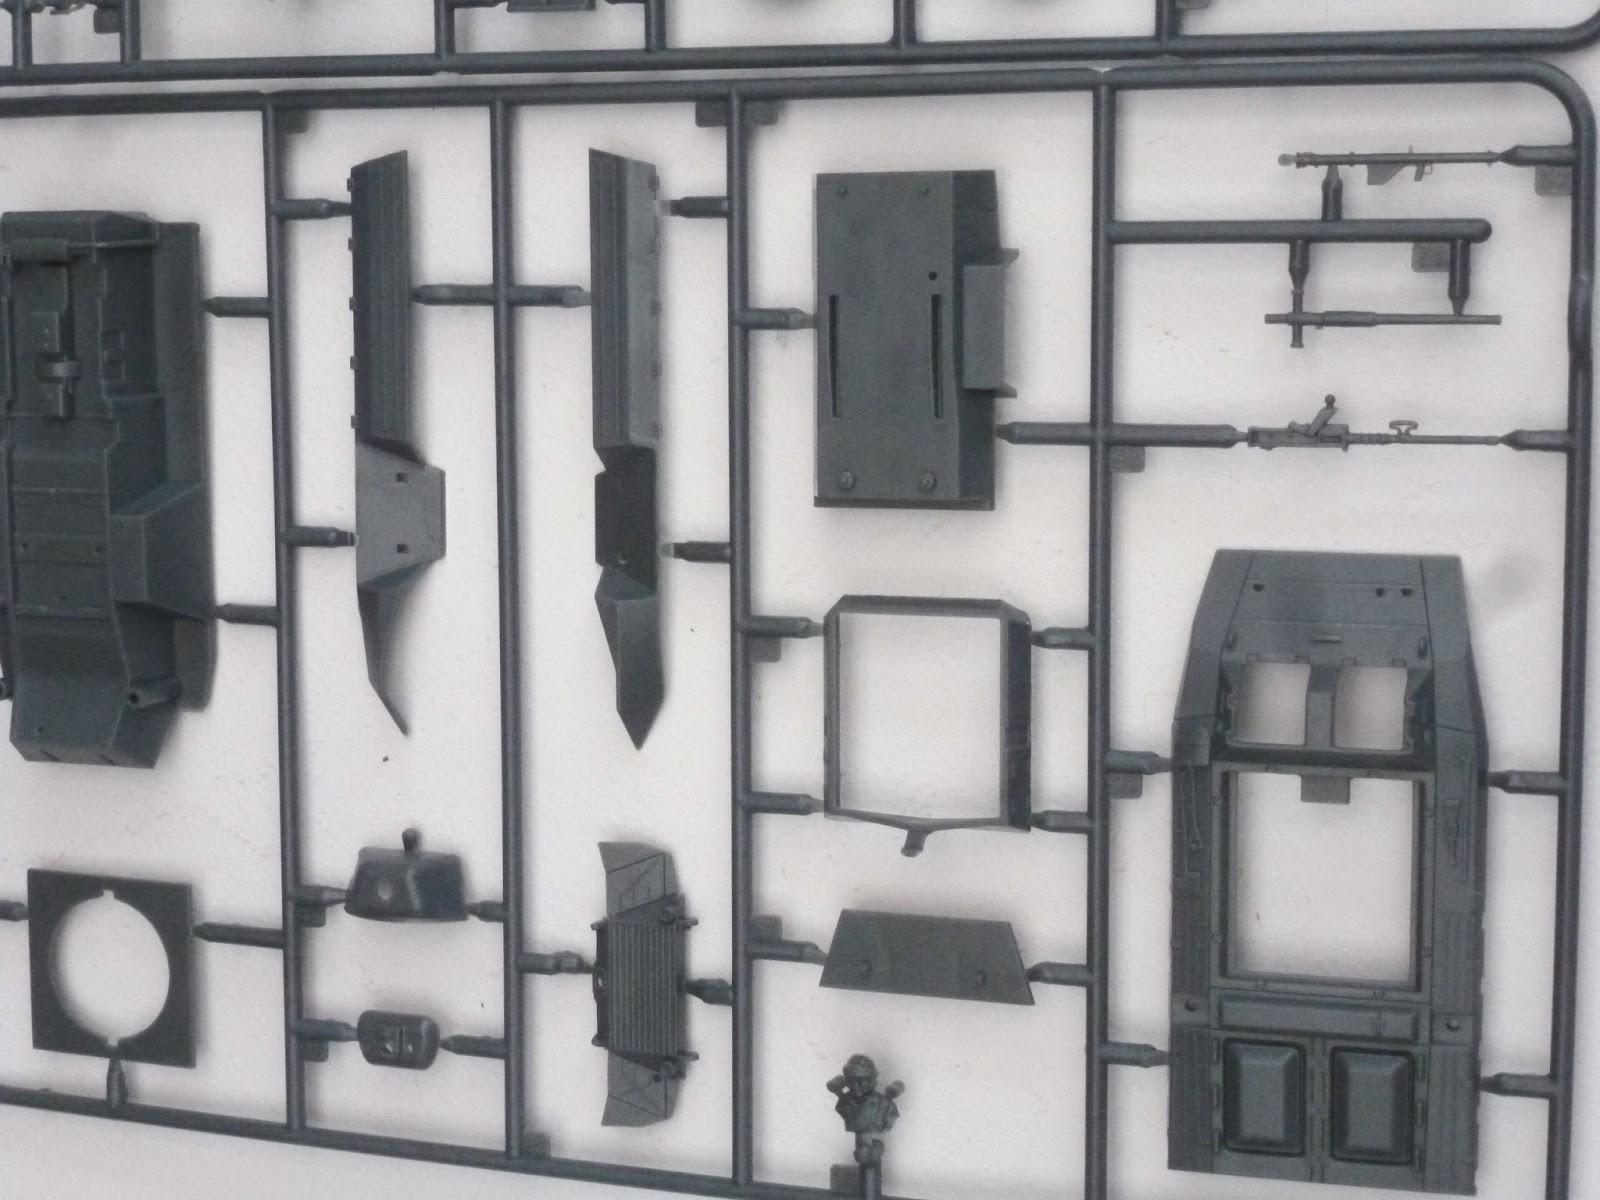
The kit comes on 2 sprue packed full of parts. At first glance there appears to be a great deal going on here, but I found the instructions pretty good, and managed to build the kit without referring to the sheet.  


Fit is generally excellent, though I did find the gun mantlet a little tight, bot nothing too taxing. Detail is superb and the kit features a modicum of interior detail, and a nicely done turret interior. Only one half figure is provided as a driver, though I elected not to use him in my builds. 


The kit is cleverly engineered to allow swapping between the M8 and M20 turret apertures, and there are some small but sturdy locating tabs on the upper decking to ensure everything lines up and still remains in place whilst gaming. Unfortunately only one .50 machine gun is provided, however I like to drill and pin these in place on my models anyway, and found by not fixing the weapon I could freely switch it between vehicles. 


Build time was around 45 minutes and special mention should be made to the suspension, it looks wonderfully intricate yet is made up of 4 parts, excluding the wheels. 

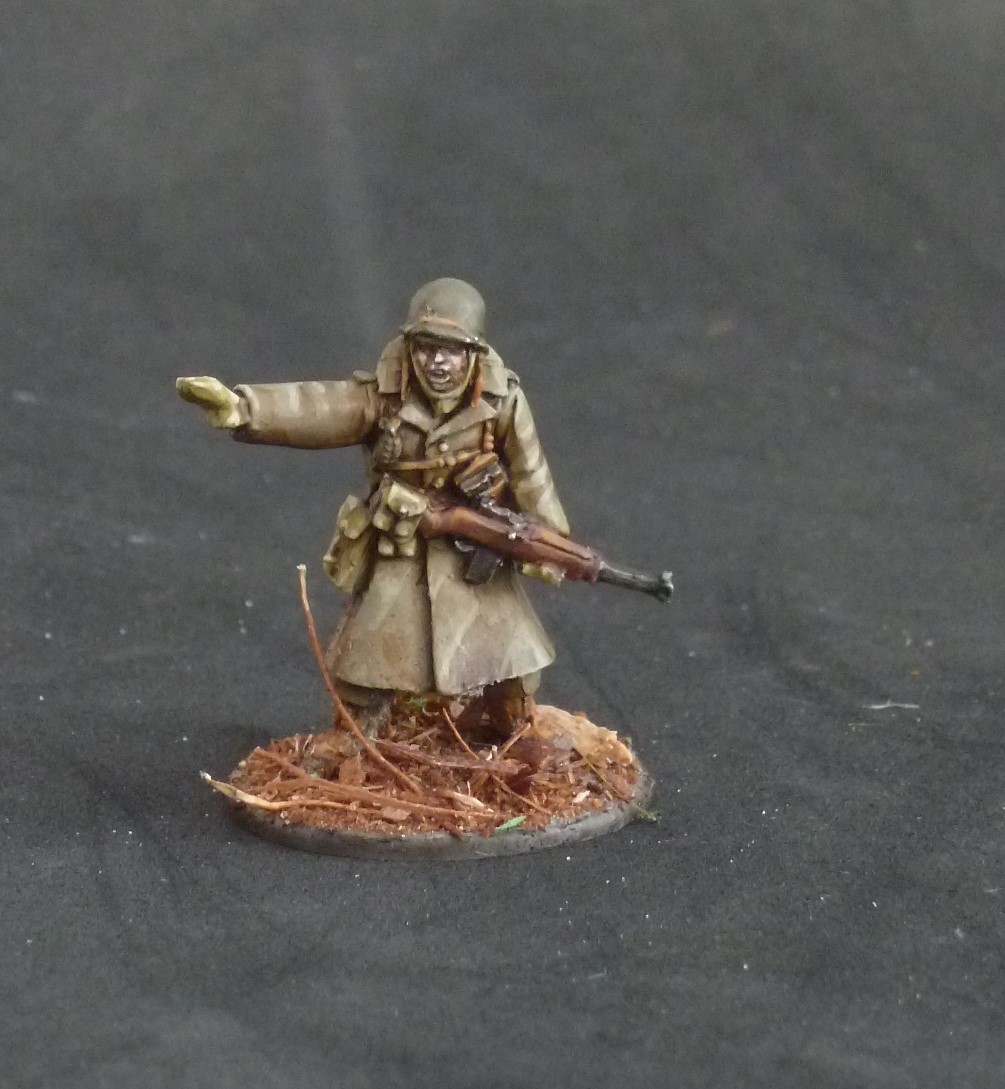
I replaced the antennae with 5 amp fuse wire, and painted the model using MIG productions 926 Olive Drab Base. and then used a variety of MIG washes and weathering powders to dirty them up.
Transfers were included in the kit thankfully, and performed very well.

Another very nice kit, well worth checking out. You can see more of my work at Volley Fire Painting Service, and can pick up your armoured recce from Warlord Games


Warlord Games 28mm Winter US Review

A quick review tonight to mainly let the pictures do the talking.

Over the Christmas break I used the time to work on a few projects of my own, and to my surprise found myself painting an American force using warlords new Winter American figures after they very kindly sent me some review models, and that then escalated...


I've used all of the new packs here, including 2 of the squad sets, and have done no conversion work at all, and used the bases provided.I did add an antennae for the radio operator out of 5 amp fuse wire though.


All the models are nicely cast with only minimal mold lines, and all packs include bases, with 25mm plastic bases for the infantry, and 60mm lipped plastic ones for the support teams.


The Figures wear a mix of the M43 field uniform, greatcoats, and jeep jackets, with the squad figures having seperate heads, and suport team models mostly being one piece castings. 


The models match nicely size wise with other 28mm Americans, though I've not had a chance to do a full comparison, and will do so in the not to distant future. 


I decided to avoid the snow look,and go for more of a Hurtgen forrest feel to my figures, and after spotting Warlords new Forrest Ground Scatter  in the model shop had to give this a go. The Scatter worked superbly, all I have done with these bases is paint them Vallejo Dark Earth Texture paint, apply PVA, sprinkle the scatter on then add some chopped up clump bushes.


Even as a fan of Warlords design I'm especially impressed with these figures, the poses are nice and all work well together, the detail is excellent and the faces are full of character. Highly recommended. You can find the range of winter US at the warlord page Here, and see more of my work and contact me through Volley Fire Painting Service


Saturday 2 January 2016

Beyond the Gates of Antares Terrain

I've been slowly gathering up some terrain for my Beyond the Gates of Antares collection, and in my mind my forces are fighting over a border world with a minimal Concord Garrison, a malfunctioning weather grid, and lots of seedy Freeborn trading posts. I'll come back to this next week with a more fleshed out background to my setting.


There are a lot of options for MDF Sci-Fi terrain, and as terrain is so important for Antares I decided I wanted to investigate as much as possible. In my mind I have the look of games like Mass Effect and movies such as B


lade Runner for the look and feel I want to bring to the table, so lots of dark buildings with neon effect, and high tech gubbins and street furniture for area terrain.

Hunting around the net I came across the TT Combat range of MDF terrain, and at around £10 or so for a medium sized building I bought a seclection, including the Forebearer Beacon, Buildings B and C, Food Booth A and some Vending machines. so far I've built buildings B and C, which you can see in the photos. I did build the Food Booth, however I ran into an issue, more on this in a moment.

Delivery times and packaging were good, however some of the MDF hadn't been cut through on some parts of the buildings I've done, and a lot of the connections are too tight and require cutting and sanding to ensure the building will go together. The Foodbooth was an especially tight fight, and in trying to get mine assembled I applied a little too much force and the whole thing imploded, with joints and walls snapping and bending. Key issues with these that I have found is that the MDF seems to be a weaker quality than that of say Sarissa or $ ground. If your after cheap terrain, then check out TT Combats range, I was quite disappointed with these though so probably won't buy any more.

One of my favourite places to get terrain and scenic items is Antenocitis Workshop,  and I picked up the Warsenal Square Planter Island. I'll be getting more of these to use as area terrain as I like the look so much, and it adds a real sci-fi plaza feel to the table. This was a very simple, piece and went together well. I've been looking at the Warsenal range, and there are some very nice looking terrain pieces, so I suspect I shall have another order going in with them soon!

I hope this gives you some inspiration for your own boards, and I'll be writing up the history for my games world over the next few days! As ever you can keep an eye on Volley Fire Painting for more of my work

Warlord Games SdKfz251/16 review

This review is as the title may subtley suggest, a look at Warlords new SdKfz 251/16 kit. I've had this for a little while but only recently finished it, so time for a review!


The SdKfz 251/16 was issued from approximately 1943, and was in theory meant to form a flammgruppe of 6 vehicles within each panzer grenadier regiment, with most of them being sent to SS divisions, though I have found it quite difficult to track down who had them, and at what time.


 The 251/16 was used in all theaters the German military found itself operating from 1943 until the end of the war.  An interesting 4 part training video on a Panzer Grenadier force in the attack can be found seen on Youtube

Unsurprisingly this kit is based on Warlords 251/1 Ausf D kit that came out earlier in the year, and contains all the parts present in this earlier release, along with an additional sprue containing the flame throwing equipment, and 2 new crew models. You can read my 251/1 review here


The model is very simple to assemble, I think I had mine together in about 20 minutes or so, and I left the crew figures off until the vehicle was painted. 


 I also did a very minor conversion by altering the angle of the front wheels by simply gluing them at a different angle.


Painting was done using a pre shading method with my airbrush over a grey primer, and then using Vallejo Middlestone for my Dunkelgelb colour. Weather was applied using artists oils, and MIG pigments

Warlords 251/16 retails at £20, and can be bought here. As ever you can see more of my work at Volley Fire Painting Service


Trenchworx 1/56 T-34/76 review

Appologies for the long absence of articles, I've been remarkably tied up with work projects recently, however the upside of this is that now I have plenty of stuff to write about to start off the new year, and on that note a very happy new year to all those who support my business and who follow this blog, thank you all for your time and help!

Seeing as the Russians were famous for their winter attacks, my first article of 2016 has to be on the most famous Russian tank of them all, the T-34/76, and today I'll be firstly reviewing this new kit, and secondly comparing and rounding up the other major T34/76's.

Trenchworx T-34/76

Trenchworx are a new company to the scene, and started off producing 3D printed models of the more obscure vehicles from WW2. After a recent and very successful Kickstarter to bring leser known


Russian and Japanese armour to the gaming table, they now have a much larger and more fleshed out range, which can be seen at Trenchworx.

Trenchworx very kindly included a couple of review models in with a couple of commissions that I have worked on recently. (I'll also be looking at the T-28 and Type 89 over the coming weeks).

This kit represents the T/34/76 1943 version with 'Mickey Mouse' turret, and mixed steel and rubber road wheels, and is the first kit in 28mm scale to offer this combination of wheels and tracks.

The kit comes with instructions, and is a mix of resin for the hull, turret and tracks, whilst detail parts are in white metal, in this instance lights, stowage boxes, fuel tanks spare tracks and hatches. Detail and casting quality is impressive, right down to the pre drilled gun barrels, even for the machine guns. Tracks are keyed to each side as well, so it's impossible to fit them in the wrong place or on the wrong side. Topping out the model is a set of magnets to hold the turret down. 

Assembly and clean up is a breeze, and I'm informed by Nate at Trenchworx that the resin can be painted without the need of washing the resin, however any mixed media kit I like chuck in the bath for a wash just to make sure. 

The T-34 was painted using the Russian 4BO paint set from Vallejo which you can read about here. Trenchworx T-34 is $34 and represents good value for the quality of model you are receiving. 


T-34/76 round up

Over the last year there have been a lot of new kits of this famous tank, so it seems prudent to pull them all together here, and see what each one has to offer. 


As you can see from the chart below, each kit has its own merits, and it's impossible to call one the best, it largely comes down to personal preference  and hopefully this will help you decide what's best for you. 


Kit
Price
Options
Stowage
Crew
Build time
Notes
Website
Rubicon
£20
1941 and 42 turrets, also includes OT34 flame thrower option. Steel or Rubber road wheels
Spare track,  Two types of drum, and square fuel tanks are offered.
None
25-35 minutes
Plastic kit, Track detail is heavily simplified. Good decal sheet.
http://www.rubiconmodels.com/
Warlord
£18 Available in 3 vehicle set for £50, also part of 3 vehicle 10% discount deal.
1941, 42, 43 turrets, OT34 Flame thrower
Spare trucks, box fuel tank
1 figure
20 minutes
Plastic kit.
No drum fuel tanks, good decal sheet.  
http://www.warlordgames.com/
Die Waffenkammer
$32 Canadian, Approx £16. 3 vehicle 10% discount
None, Alternative turrets are available on the website however
Lots. Comes with around 10 items of stowage  
2 figures
10 minutes
Resin kit. Long shipping times, perfect casting, resin needs thorough clean and priming
http://www.diewaffenkammer.com/_russia.html
Trenchworx
$34 US, approx. £23
None
Spare track, alternative styles of drum fuel tanks
None
10 minutes
Resin and metal kit, all guns are pre drilled.
http://trenchworx.com/

As ever you can see more of my work at Volley Fire Painting Service.